DIY Non-Toxic Pesticide for Your Garden (Simple, Safe, and Effective)
As an Amazon Associate, I earn from qualifying purchases. This means I may earn a small commission if you click on the links in this post and make a purchase, at no additional cost to you. I only recommend products I use and love!
My Go-To Homemade Garden Spray: Neem + Castile Soap
Safe for your plants, your family, and your soil.
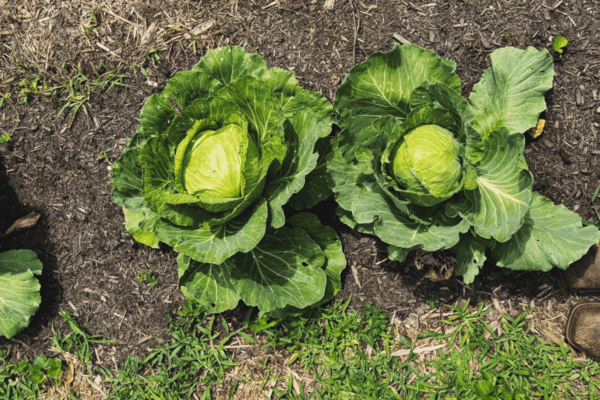
I used to think the only way to save my garden from bugs was to buy a fancy spray from the store—until I saw the ingredient lists on those things. Out here on the farm, simplicity wins. So when pests started nibbling on our cabbage and tomatoes, I opted for a homemade solution that’s now a staple in my garden routine.
This easy DIY pesticide is made with just two ingredients—neem oil and castile soap—and it’s become my go-to for keeping bugs at bay without harming the good stuff (pollinators, soil life, and my peace of mind).
Why I Go Non-Toxic
I grow food for our family, not a shelf. That means I care about what ends up on our plates—and what soaks into our soil. Chemical sprays might kill bugs, but they often do more harm than good. By using a natural spray, I’m protecting our plants, our chickens, and that beautiful web of life buzzing around the farm.
Plus, it’s cheaper, and I always have the ingredients on hand. Please also note, I keep it natural for plants we eat. However, plants and flowers that aren’t for consumption I’ll use whatever it takes to keep pests away and keep ’em growing healthy + strong.
The Simple Spray Recipe
Here’s what you need:
-
1 tablespoon cold-pressed neem oil
-
1 teaspoon unscented castile soap (I use Dr. Bronner’s)
-
1 quart warm water
-
A spray bottle or garden sprayer
Mix it up:
-
Add the neem oil and castile soap to the water.
-
Shake well (and keep shaking as you use it—neem likes to separate).
-
Spray directly onto affected plants, especially the undersides of leaves where bugs love to hide.
🌞 Tip: Avoid spraying in the heat of the day. Early morning or evening is best to prevent leaf burn.
What It Works On
This spray helps me control:
-
Aphids
-
Squash bugs
-
Whiteflies
-
Spider mites
-
Beetles
I’ve seen a huge difference especially on my cabbages and tomatoes after just a few applications. It won’t wipe out pests overnight, but it keeps things balanced—just how nature likes it.
What to Watch For
-
Test first: Spray a few leaves and wait 24 hours to check for reactions.
-
Reapply every few days during infestations, or weekly as a preventative.
-
Store in a cool place and remix each time—fresh is best.
Watch Here!
We filmed the whole process—from mixing our spray to applying to our plants. You can watch the full short video here:
Final Thoughts from the Farm
Natural gardening doesn’t mean perfect plants—it means healthier ones. This simple spray has helped me keep things growing strong without stressing about chemicals.
If you try this recipe, let me know how it goes! Tag me on Instagram @poppyjoespastures or drop a comment below. I’d love to hear what works for you in your own backyard or homestead.
Happy gardening,
– Sarah 🌸


